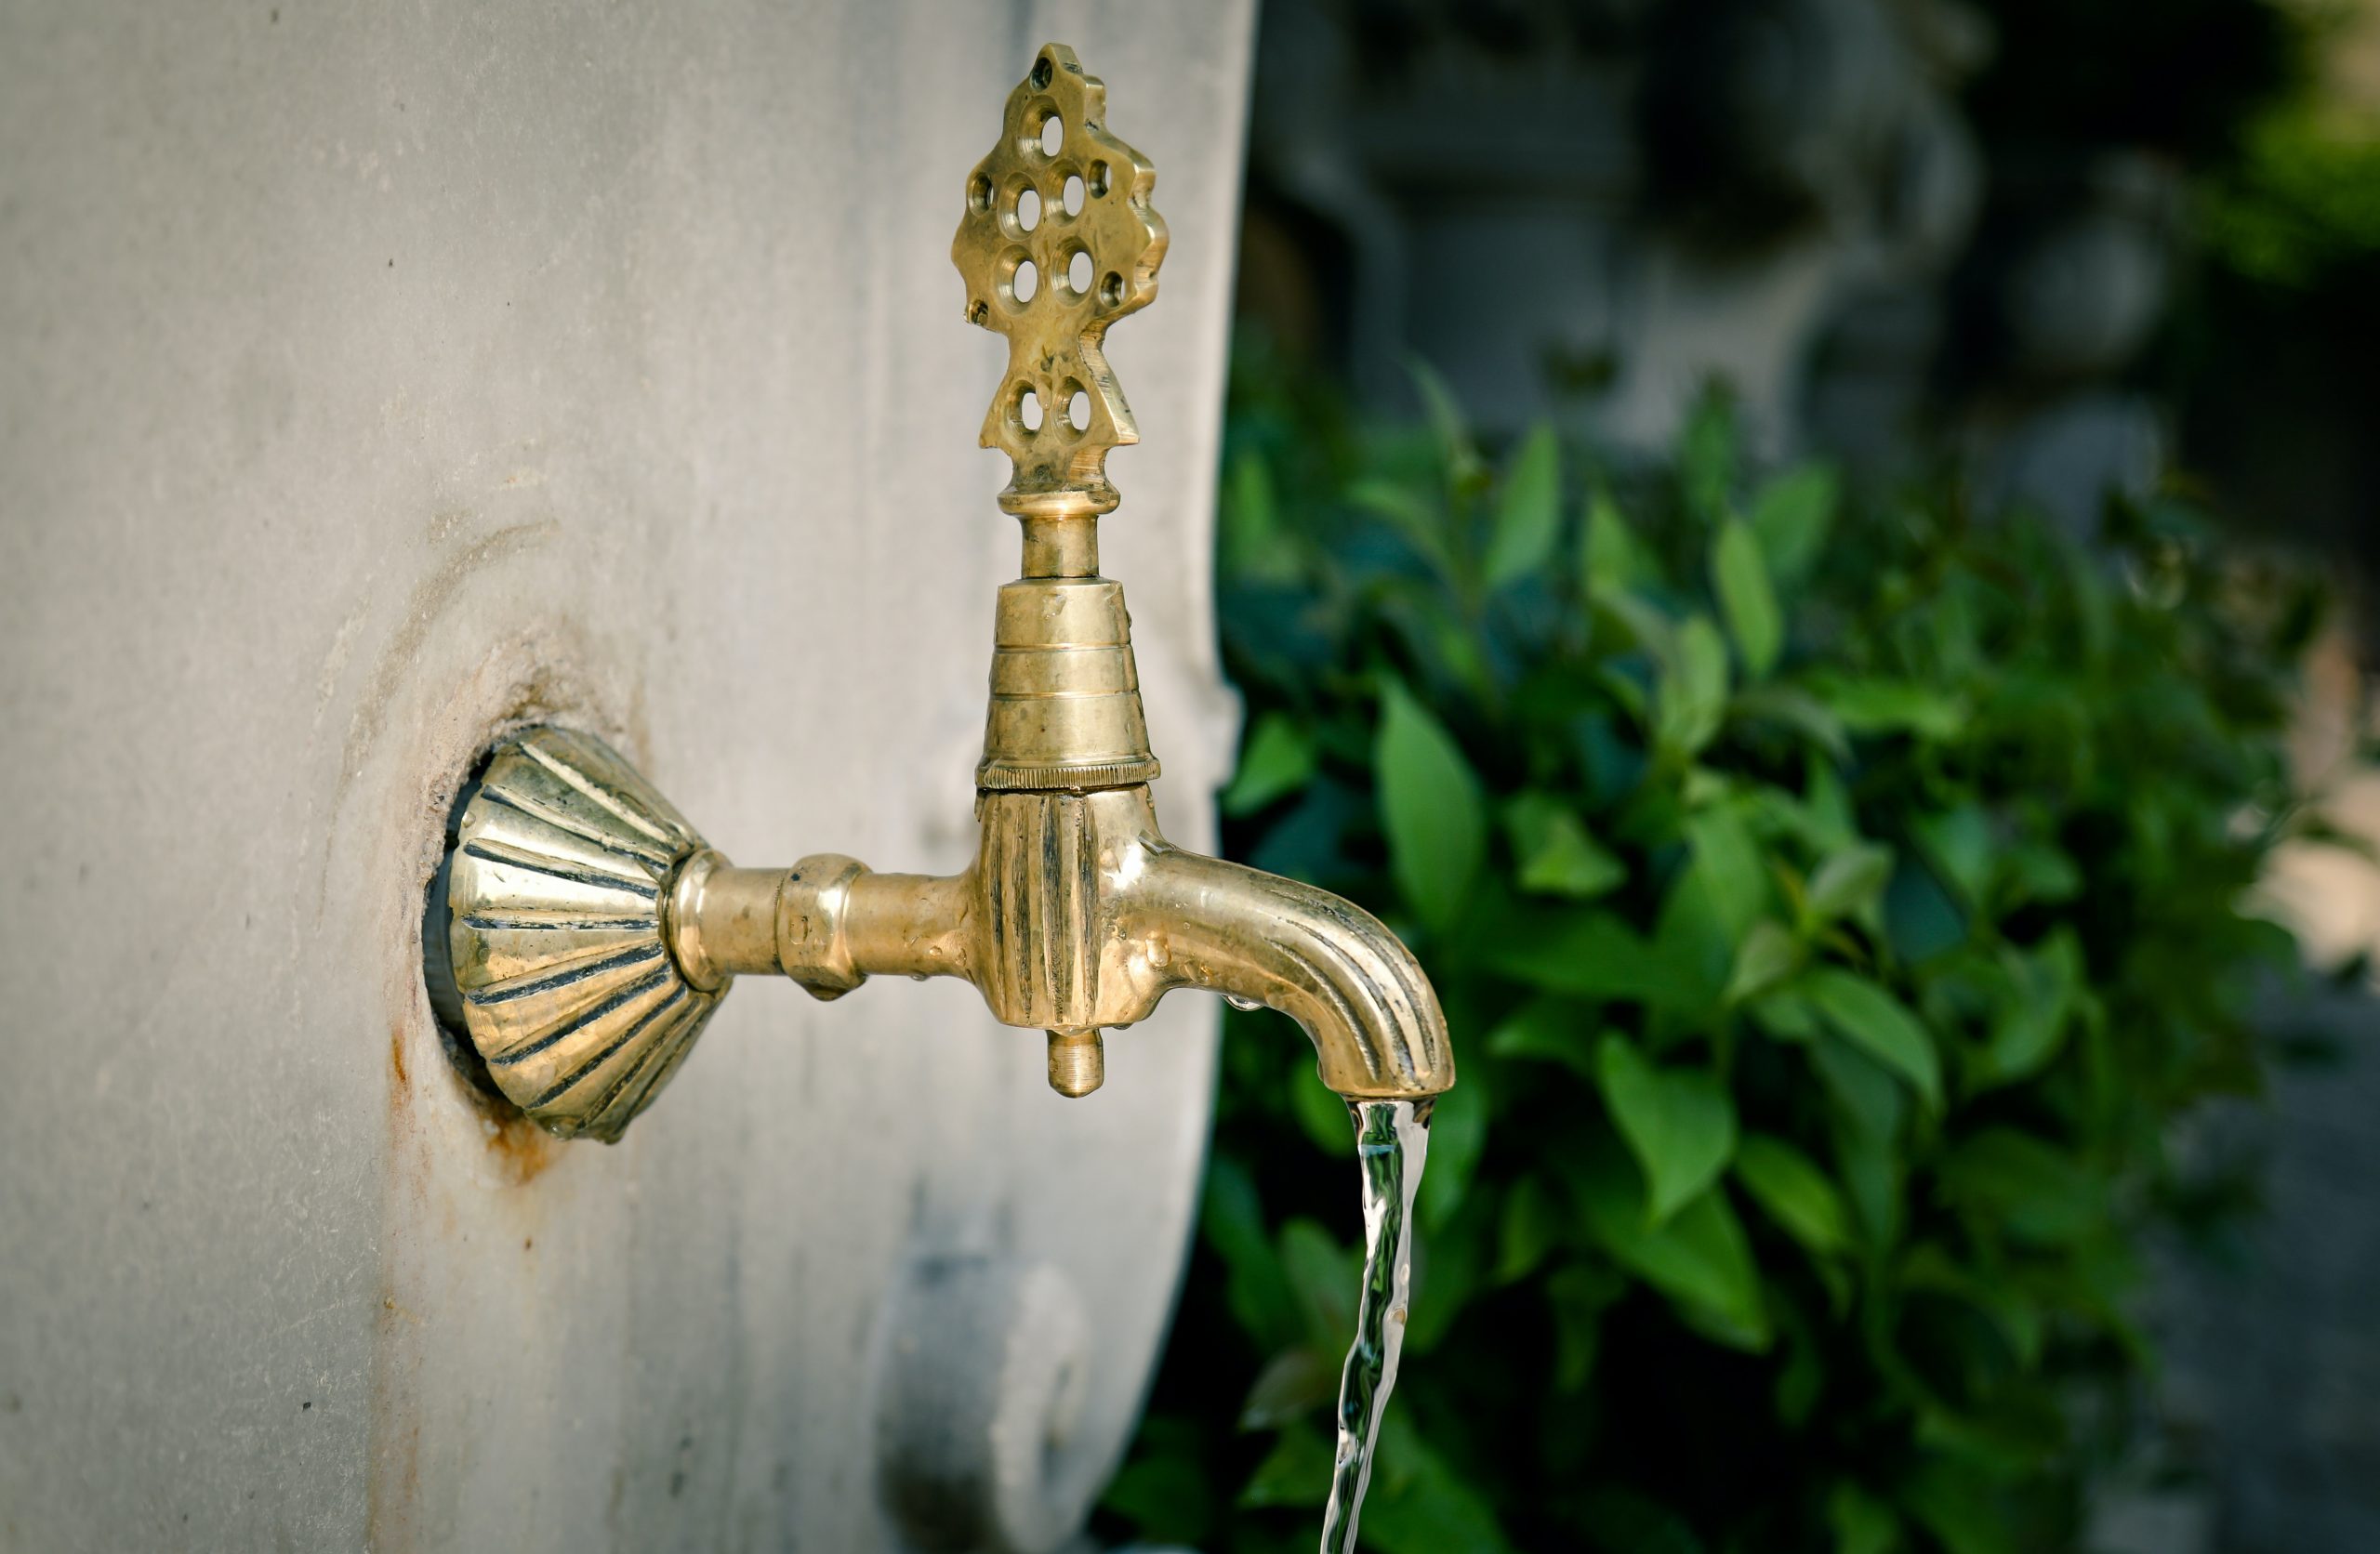
A dripping tap can send you around the bend, especially if you are trying to concentrate. If you have a tap that won’t stop dripping, you might not always need to call in a plumber — there are a few simple ways to fix a simple leak or drip without needing to call in the experts.
Using a few simple tools you will most likely have in your toolbox, we can help you get the drip fixed so you can avoid expensive water bills and get the annoying drip to stop in a flash.
Ways to DIY a leaking or dripping tap
If you have a tap that is leaking or dripping, don’t leave it until it becomes a serious issue, get it fixed so you can keep any damage or issues to a minimum. Many of us can fix a leaking tap or faucet using some basic tools and a little bit of elbow grease. Here are some steps to fix your taps if there is a small leak:
1. Turn off the water at the wall
This is essential and will ensure you aren’t going to cover yourself in water during your DIY exercise. You can usually find the main in your bathroom, kitchen, or toilet under the sink or behind the loo. Once you have done this, you can move onto the next step.
2. Take off the tap handle to start working on the leak
This can be difficult depending on the type of tap you have, so you might need to do a little research for the tapware to make sure you have a deep understanding of how to take off the tap head properly.
Sometimes taps have a small screw you need to remove and other times they need to be loosened with a screwdriver or even a Phillips head, a quick look will usually show you what needs to be done.
3. Remove the middle section of the tap
This will allow you to get to the middle of the tap where the leak could be occurring. Simply remove the cartridge and set it aside safely, then you can install the new cartridge.
4. Clean and dry the new cartridge and surrounds
You will need to clean and dry off the area around the handle so that it is super dry before you put the handle back onto the tap. If you aren’t sure what cartridge you need, you can always take off the cartridge and take it to your local hardware store and they can help you with an exact replacement.
5. Put the tap handle back on and secure
In this final step, you will need to reattach the tap in the reverse steps to what you did in the beginning, screwing it back in firmly and ensuring that when you turn the water back on at the wall it flows correctly. If you have followed all of the steps correctly, you should have been able to fix the leak in your tap.
Summing up
If after following these steps your tap is still leaking, it is best to call in a plumbing expert to review the issue in case it is something a little more serious.
Basic DIY is one thing, however, if the plumbing issue is beyond DIY you should always get in a plumber that is licensed to explore the issue further to see if there is more to the problem. And, If you need a hand with fixing your leaking tap then get in touch with Ashbury Plumbing today!

